Connecting Arrivala with your CRM, e-commerce store or other internal client system can make review collection 100% automated. Here we walk through the steps on creating a ‘Zap’ using Zapier & the Arrivala API.
Step #1
Create your Zapier account and request API access from Arrivala. You can create a free Zapier account by going to https://zapier.com. On the Arrivala side, you’ll want to request API access for your account by going to the API Integration tab in your account dashboard.
Once you have your Zapier account and Arrivala account ready to go, it’s time to build your first Zap. Within this tutorial, we’re going to show you screenshots on how to configure the Arrivala side of the ‘Zap’. If this is the first time you’ve worked with Zapier, we would highly suggest that you review Zapier’s step-by-step guide to creating your first ‘Zap’. This guide can be found here: https://zapier.com/learn/getting-started-guide/build-zap-workflow/
Step #2
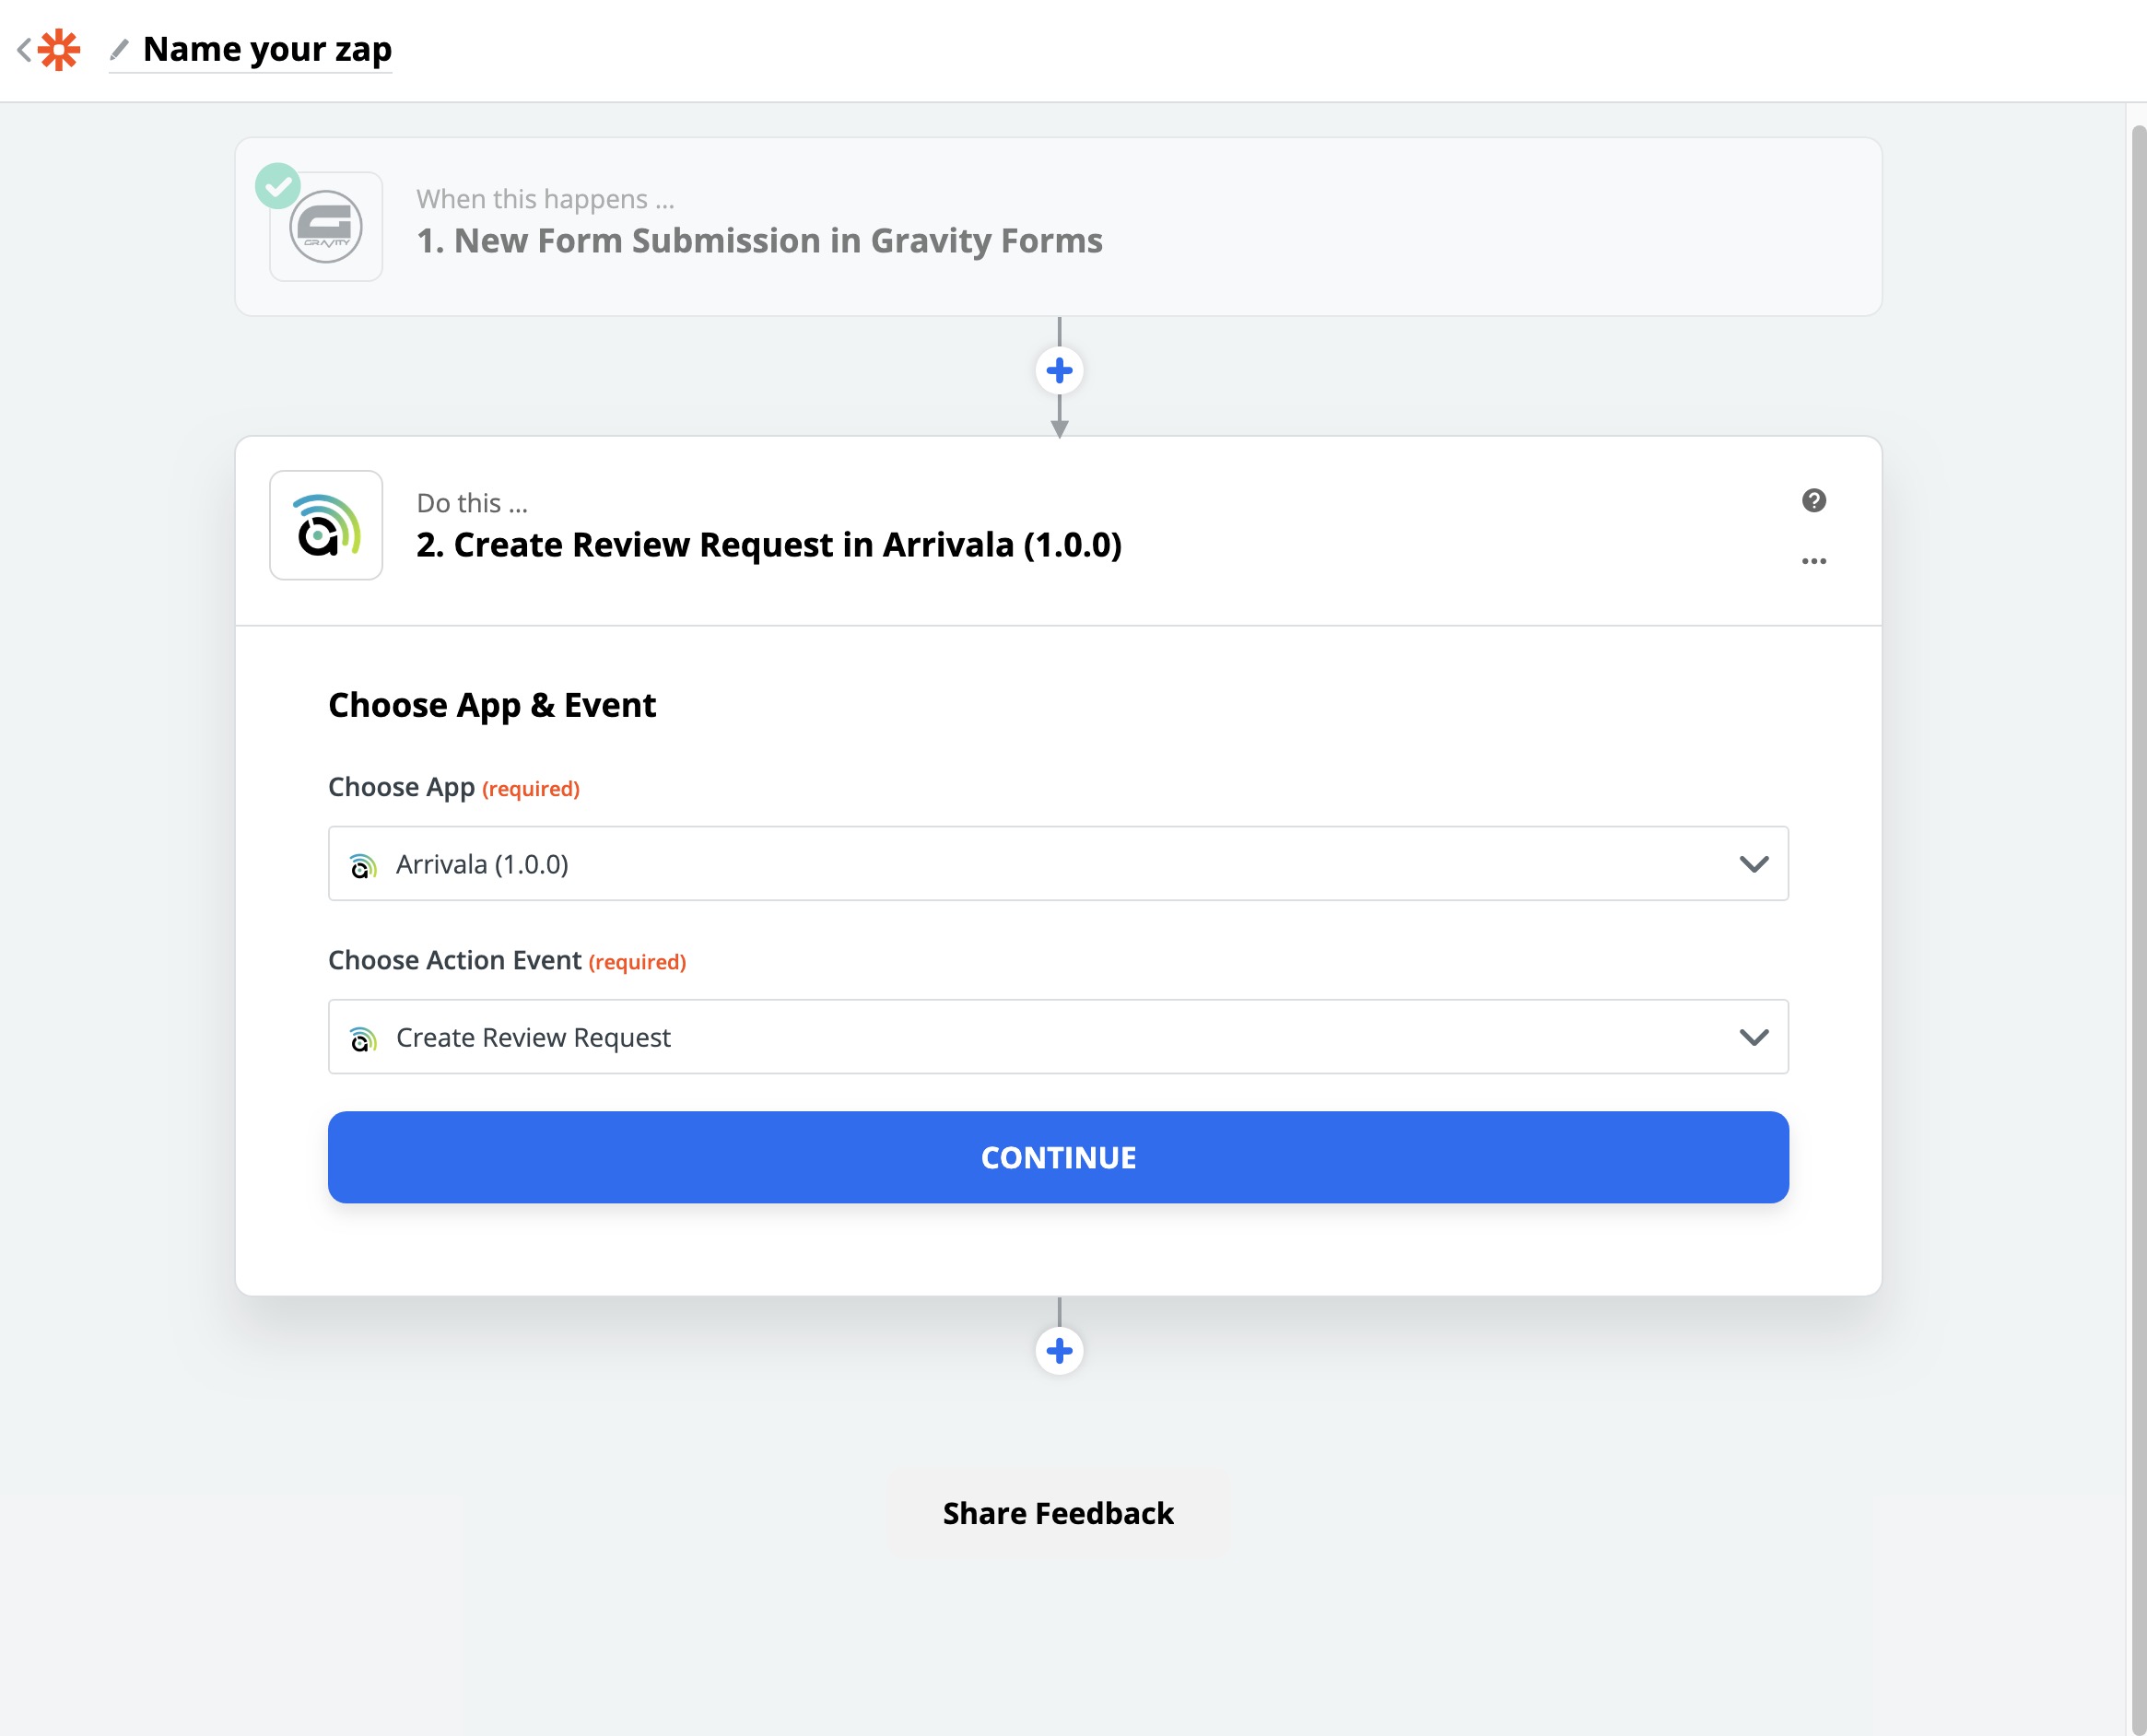
Our portion of the Zap begins after you’ve configured where the data will be coming from. As you can see from the above example, we’ve created a Zap where data comes from a new form submission via Gravity Forms and we want to ‘Create a Review Request in Arrivala’ with that information. When you see this screen, you’ll know you’re on the right track. Click the blue continue button to proceed to the next step.
Step #3

After clicking continue, you’ll be prompted with a login popup. Here is where you’ll enter your API username and API password as found in your Arrivala dashboard API page. Please copy the password exactly as it presents itself in Arrivala. Some Arrivala API passwords contain spaces that are part of the password. Do not delete these spaces. Once you’ve pasted in the values, click the Continue button.
Step #4
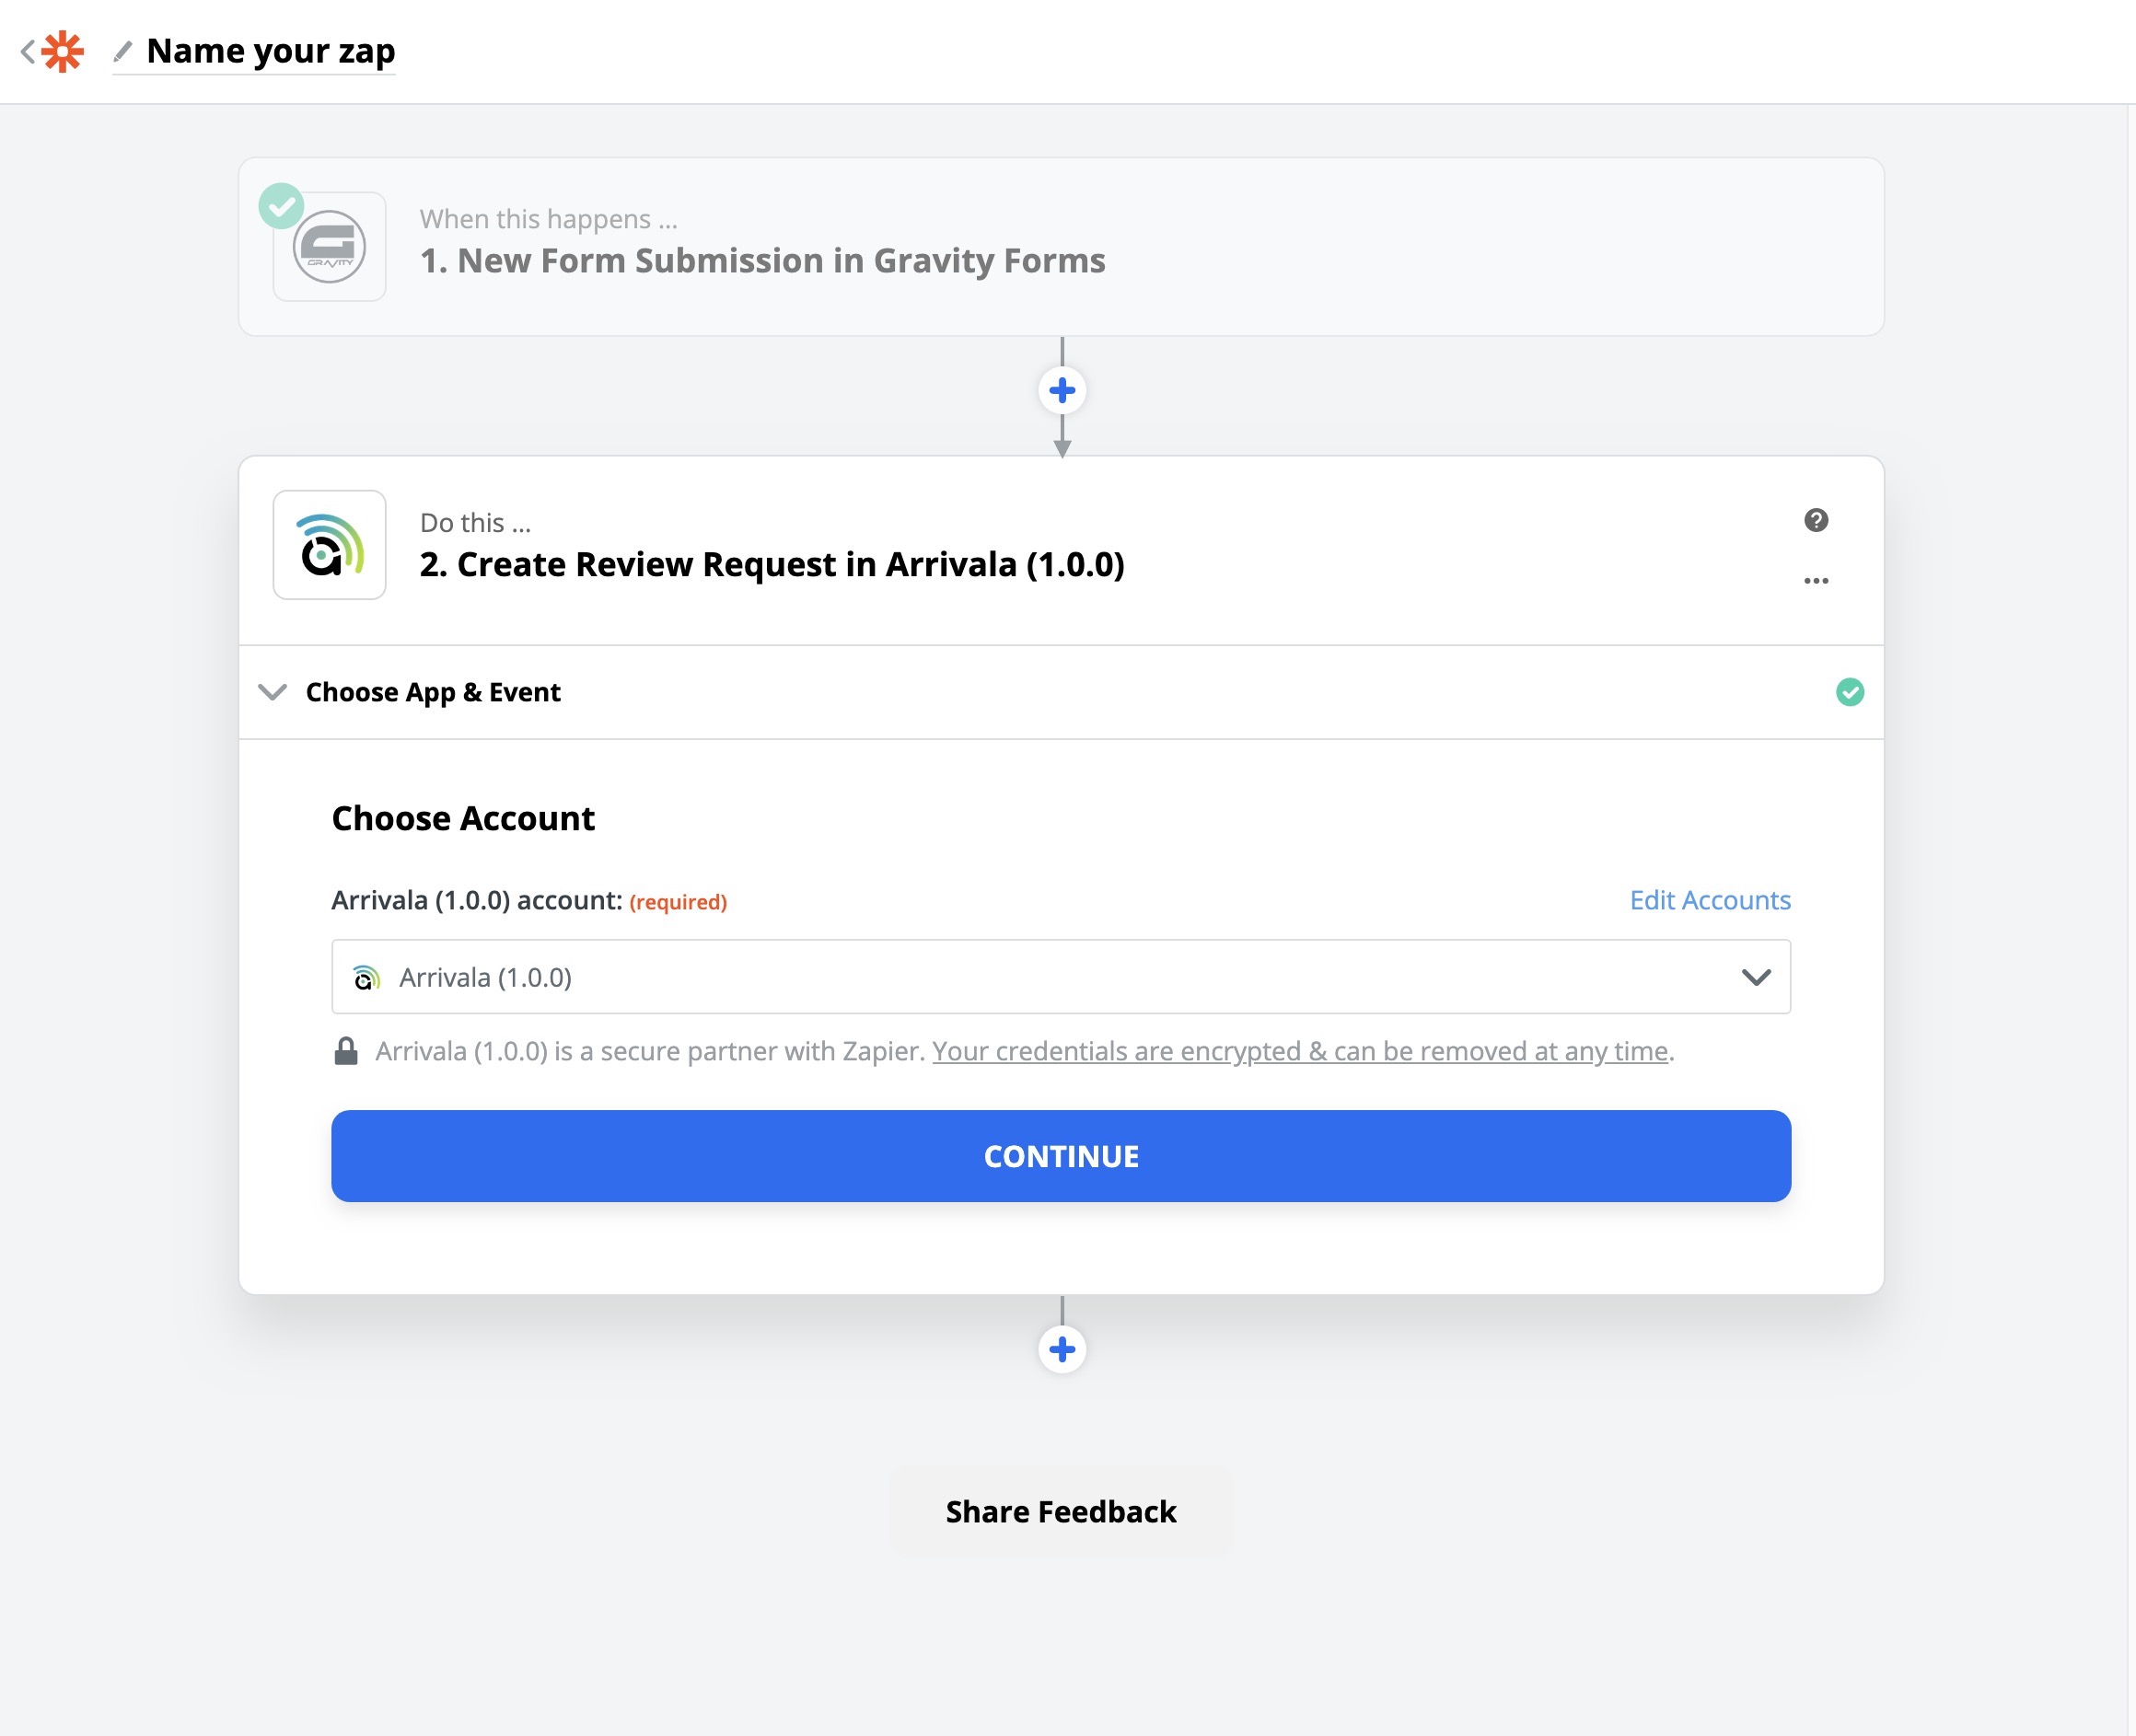
If the login was successful, the popup will close and you’ll see a screen similar to the above. Click the blue Continue button.
Step #5
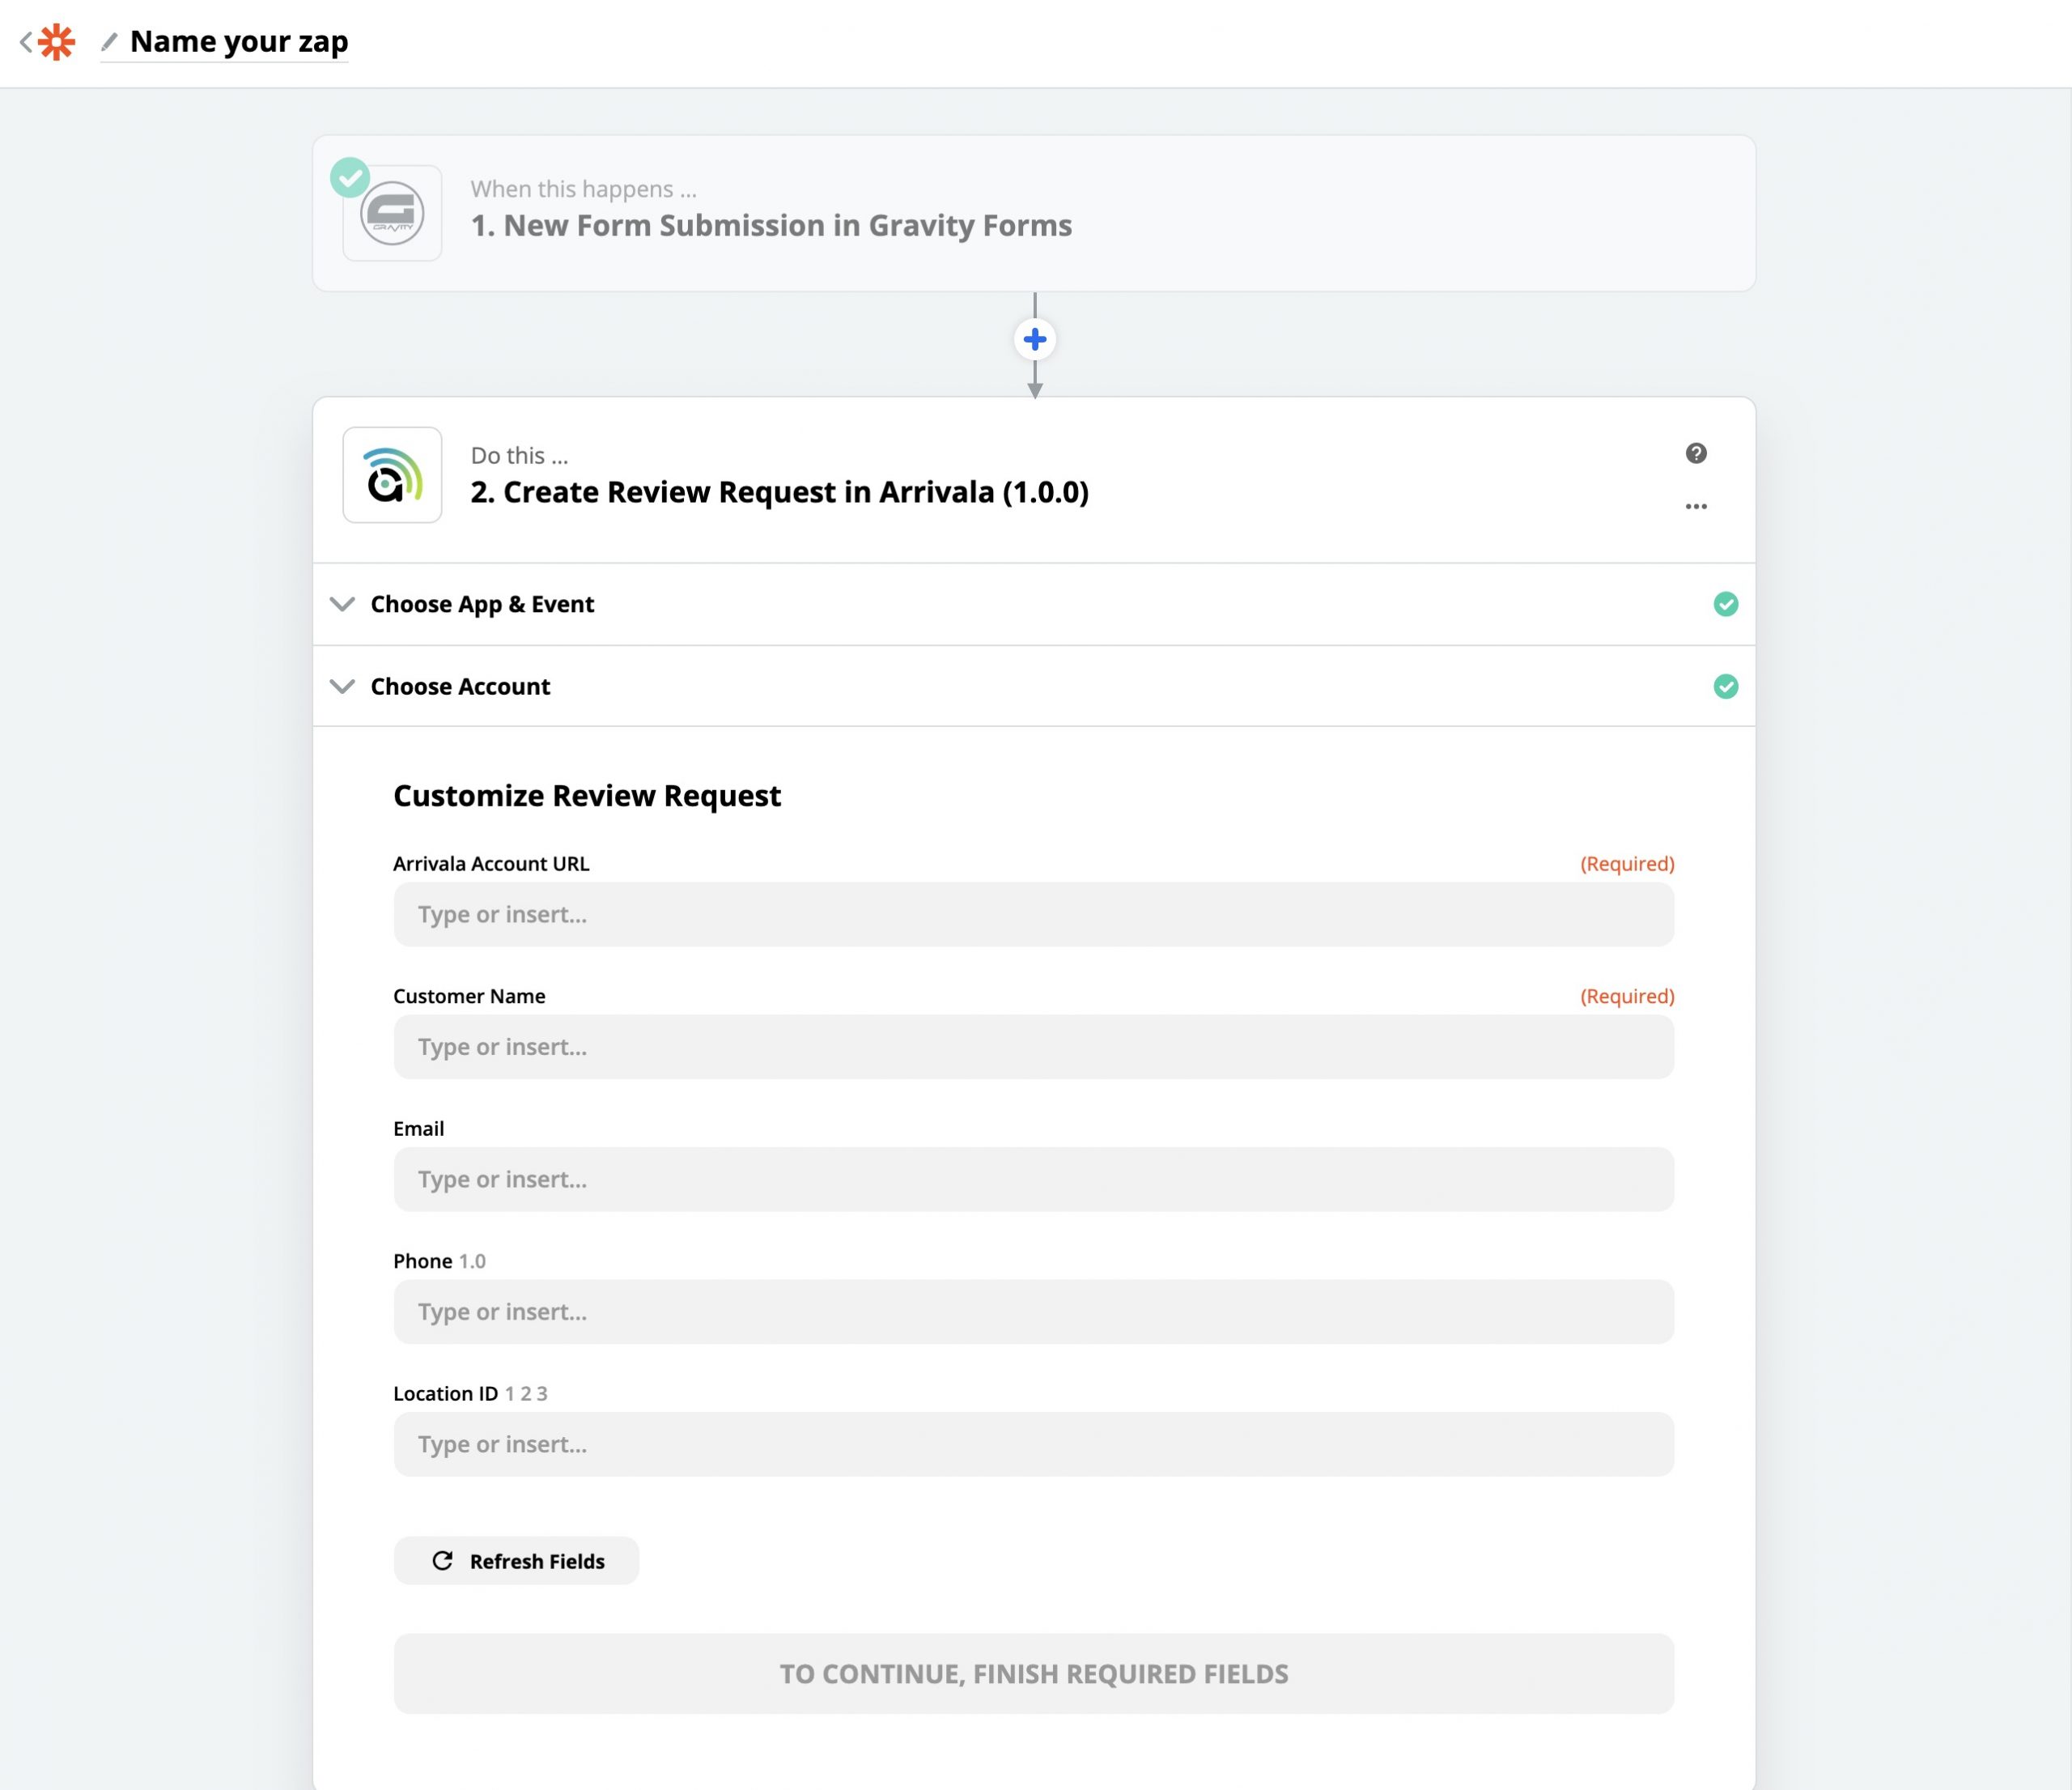
In the ‘Arrivala Account URL’ field, enter your Account URL as found in your Arrivala Dashboard on the API Integration page (above your username and password). The rest of the fields, name, email and phone, you’ll map from your CRM. The Location ID field can typically be left blank unless the Arrivala team tells you otherwise. Once you’ve mapped all of the required fields, click the Continue button.
Step #6
You’re all set! You’ve created the connection between your CRM, e-commerce provider, internal system, etc. to Arrivala. Next thing to do is start testing.
Additional Notes
The Arrivala team is only able to provide limited support in setting up the Zapier connection. For example, if you have trouble with your username/password or it’s giving you an error somewhere within the steps above, we’ll do our best to help you solve them. However, Arrivala does not create these ‘Zaps’ on behalf of our clients nor are we able to help with set up related to your CRM, POS system, e-commerce system, etc..